Common Causes of a Wet Bathroom Ceiling

A wet bathroom ceiling is a common problem that can be caused by a variety of factors. The most common causes are poor ventilation, plumbing leaks, and condensation. Understanding these causes is crucial for addressing the issue effectively and preventing future occurrences.
Ventilation and Moisture Buildup
Proper ventilation is crucial in preventing moisture buildup in the bathroom. When showering, hot water vaporizes and releases moisture into the air. If this moisture isn’t adequately removed, it can condense on cool surfaces like the ceiling, leading to dampness and potential mold growth.
Types of Bathroom Exhaust Fans
Bathroom exhaust fans play a critical role in removing moisture from the air. Different types of fans offer varying levels of effectiveness:
- Axial Fans: These are the most common type, characterized by a single propeller that draws air directly through the fan. They are relatively inexpensive but may not be as powerful as other types.
- Centrifugal Fans: These fans use a rotating impeller to draw air in and then push it out, creating higher air pressure and greater airflow. They are more effective at removing moisture but also more expensive.
- Inline Fans: These fans are typically mounted in the ductwork rather than directly in the ceiling. They offer quiet operation and powerful airflow, making them suitable for larger bathrooms.
Plumbing Leaks
Plumbing leaks are another common cause of wet bathroom ceilings. Leaks can occur in various locations, including pipes, fixtures, and even the shower head itself.
- Leaky Pipes: Over time, pipes can corrode or develop cracks, leading to leaks. These leaks can often be identified by the sound of dripping water or the presence of dampness around the pipes.
- Faulty Fixtures: Leaky faucets, showerheads, or toilets can also contribute to a wet ceiling. These leaks may be subtle and go unnoticed until the water damage becomes more apparent.
Troubleshooting and Diagnosis

Pinpointing the source of a wet bathroom ceiling requires a systematic approach. Start by carefully examining the shower area, plumbing fixtures, and surrounding areas for any signs of leaks. You may also need to check the attic or crawl space for leaks from the roof or plumbing pipes.
Visual Inspection of the Shower Area, Bathroom ceiling wet after shower
The shower area is often the primary suspect when a bathroom ceiling is wet. Carefully examine the shower stall, walls, and floor for any signs of water damage.
- Look for discoloration: Water damage often manifests as dark stains or discoloration on the shower walls, ceiling, or floor. These stains indicate areas where water has penetrated the surface.
- Check for peeling paint or wallpaper: Water can cause paint or wallpaper to peel, bubble, or detach from the surface. This is a strong indication of moisture penetration.
- Inspect for mold or mildew: Mold and mildew thrive in damp environments. Their presence is a clear sign of water damage and requires immediate attention.
- Examine grout lines: Grout lines between shower tiles can crack or deteriorate, allowing water to seep through and damage the underlying structure.
- Inspect the shower head: Ensure the shower head is securely attached and that there are no leaks or drips from the shower head itself.
Checking Plumbing Fixtures and Pipes
Leaking plumbing fixtures or pipes can also contribute to a wet bathroom ceiling. It is essential to inspect all plumbing fixtures in the bathroom for leaks.
- Test the faucet: Turn on the faucet and check for leaks around the spout, handle, and base of the faucet. Listen for any unusual noises or dripping sounds.
- Examine the toilet: Inspect the toilet tank for leaks by adding a few drops of food coloring to the tank. Wait for 15 minutes and check the bowl. If the water in the bowl changes color, there is a leak in the tank. Also, check for leaks around the base of the toilet where it connects to the floor.
- Check the sink drain: Inspect the sink drain for leaks. Look for any signs of water dripping from the drainpipe or around the drain itself.
- Inspect the pipes: Check all exposed pipes in the bathroom for leaks. Look for any signs of dripping, condensation, or corrosion. Pay close attention to areas where pipes connect to fixtures.
Troubleshooting Checklist
Here is a checklist to help you troubleshoot a wet bathroom ceiling:
- Inspect the shower area: Look for discoloration, peeling paint, mold, mildew, cracked grout, and leaking shower heads.
- Check plumbing fixtures: Test faucets, inspect the toilet tank and bowl, examine the sink drain, and check exposed pipes for leaks.
- Examine the attic or crawl space: Check for leaks from the roof or plumbing pipes. Look for signs of water damage, such as damp insulation, water stains, or dripping pipes.
- Verify ventilation: Ensure the bathroom has adequate ventilation to prevent moisture buildup.
- Consider recent plumbing work: If recent plumbing work has been done, check the connections and seals for leaks.
- Consult a professional: If you are unable to identify the source of the leak, it is advisable to consult a licensed plumber or contractor.
Examining the Attic or Crawl Space
If the source of the leak is not readily apparent in the bathroom, you may need to check the attic or crawl space.
- Inspect the roof: Look for any signs of leaks, such as water stains, damaged shingles, or missing flashing.
- Examine the plumbing pipes: Check all plumbing pipes in the attic or crawl space for leaks, corrosion, or damage.
- Look for damp insulation: Damp insulation is a strong indicator of a leak. Check for any signs of water damage or mold growth in the insulation.
- Check for water stains: Water stains on the ceiling or walls of the attic or crawl space can indicate the location of a leak.
Repair and Prevention: Bathroom Ceiling Wet After Shower

Addressing a wet bathroom ceiling requires a combination of repair methods to eliminate the source of the leak and restore the ceiling’s integrity. This section delves into different repair techniques, including sealing leaks in plumbing fixtures and pipes, replacing damaged ceiling materials, and improving bathroom ventilation and design for better moisture control.
Sealing Leaks in Plumbing Fixtures and Pipes
Sealing leaks in plumbing fixtures and pipes is crucial to prevent further water damage and ensure a dry bathroom.
- Inspect and Identify the Leak Source: Carefully examine all plumbing fixtures, including faucets, showerheads, and toilets, for signs of leaks. Check for dripping, running water, or visible water stains around the fixtures.
- Tighten Loose Connections: If the leak originates from loose connections, tighten the nuts and bolts securing the fixtures. Ensure a snug fit without overtightening, which can damage the fixture.
- Replace Worn-out Parts: Worn-out washers, O-rings, or seals in faucets, showerheads, and toilets can cause leaks. Replace these parts with new ones that match the original specifications.
- Seal Cracks and Joints: Cracks or gaps in plumbing pipes can lead to leaks. Apply a high-quality sealant, such as epoxy or silicone caulk, to seal these cracks and joints.
Replacing Damaged Ceiling Materials
If the ceiling has sustained water damage, replacing the affected materials is essential to prevent mold growth and restore the ceiling’s appearance.
- Assess the Damage: Determine the extent of the damage to the ceiling. If the damage is limited to the drywall, you may only need to replace the affected section. If the damage extends to the joists or framing, you may need to replace a larger portion of the ceiling.
- Remove Damaged Materials: Carefully remove the damaged drywall, plaster, or other ceiling materials using a utility knife, pry bar, or drywall saw.
- Install New Materials: Replace the damaged materials with new drywall, plaster, or other suitable materials. Ensure that the new materials are properly secured to the framing and joists.
- Finish and Paint: Apply joint compound to smooth out the seams and transitions between the old and new materials. Sand the joint compound smooth, prime the surface, and apply a fresh coat of paint.
Installing or Upgrading Bathroom Ventilation Systems
Adequate bathroom ventilation is crucial for removing moisture and preventing condensation, which can lead to mold growth and a wet ceiling.
- Install a Ventilation Fan: If your bathroom lacks a ventilation fan, install one that is properly sized for the room. A fan with a high CFM (cubic feet per minute) rating will effectively remove moisture from the air.
- Upgrade an Existing Fan: If your existing fan is outdated or underpowered, consider upgrading to a more efficient model. Look for fans with high CFM ratings and humidity sensors that automatically turn on when moisture levels rise.
- Ensure Proper Fan Operation: Regularly check the fan’s operation to ensure it is running properly and removing moisture from the air. Clean the fan blades and vent duct to prevent clogs and ensure optimal airflow.
- Consider a Whole-House Ventilation System: For more comprehensive moisture control, consider installing a whole-house ventilation system that circulates fresh air throughout the house and removes moisture from damp areas, such as the bathroom.
Improving Bathroom Design for Better Moisture Control
Bathroom design plays a significant role in moisture control.
- Use Moisture-Resistant Materials: Choose moisture-resistant materials for bathroom walls, floors, and ceilings, such as tile, vinyl, or fiberglass. These materials are less susceptible to water damage and mold growth.
- Install a Shower Enclosure: A shower enclosure helps contain moisture within the shower area, reducing the amount of moisture that escapes into the bathroom.
- Minimize Water Sources: Reduce the number of water sources in the bathroom, such as a bidet or a freestanding tub, to minimize the potential for moisture buildup.
- Ensure Proper Drainage: Ensure that the bathroom floor has a proper slope and drainage system to effectively remove water and prevent pooling.
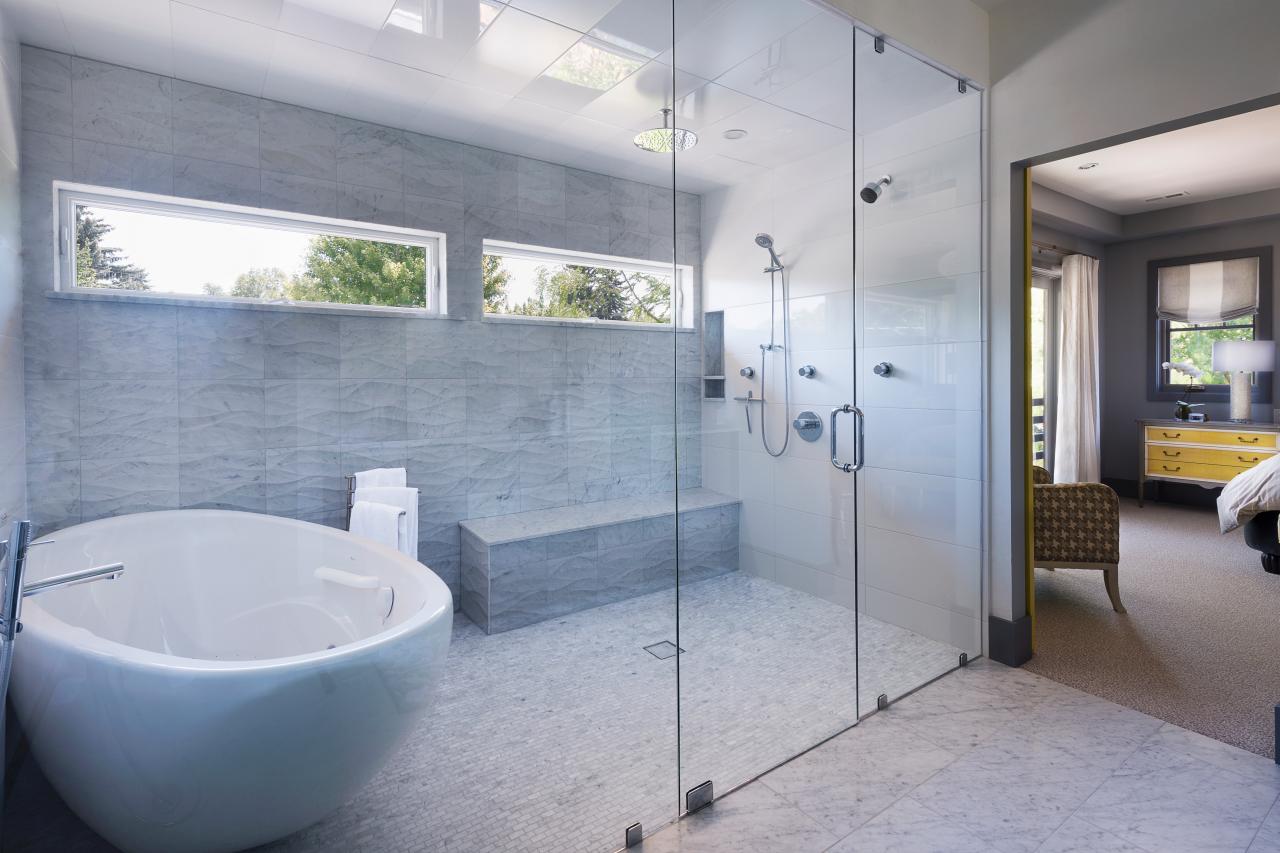
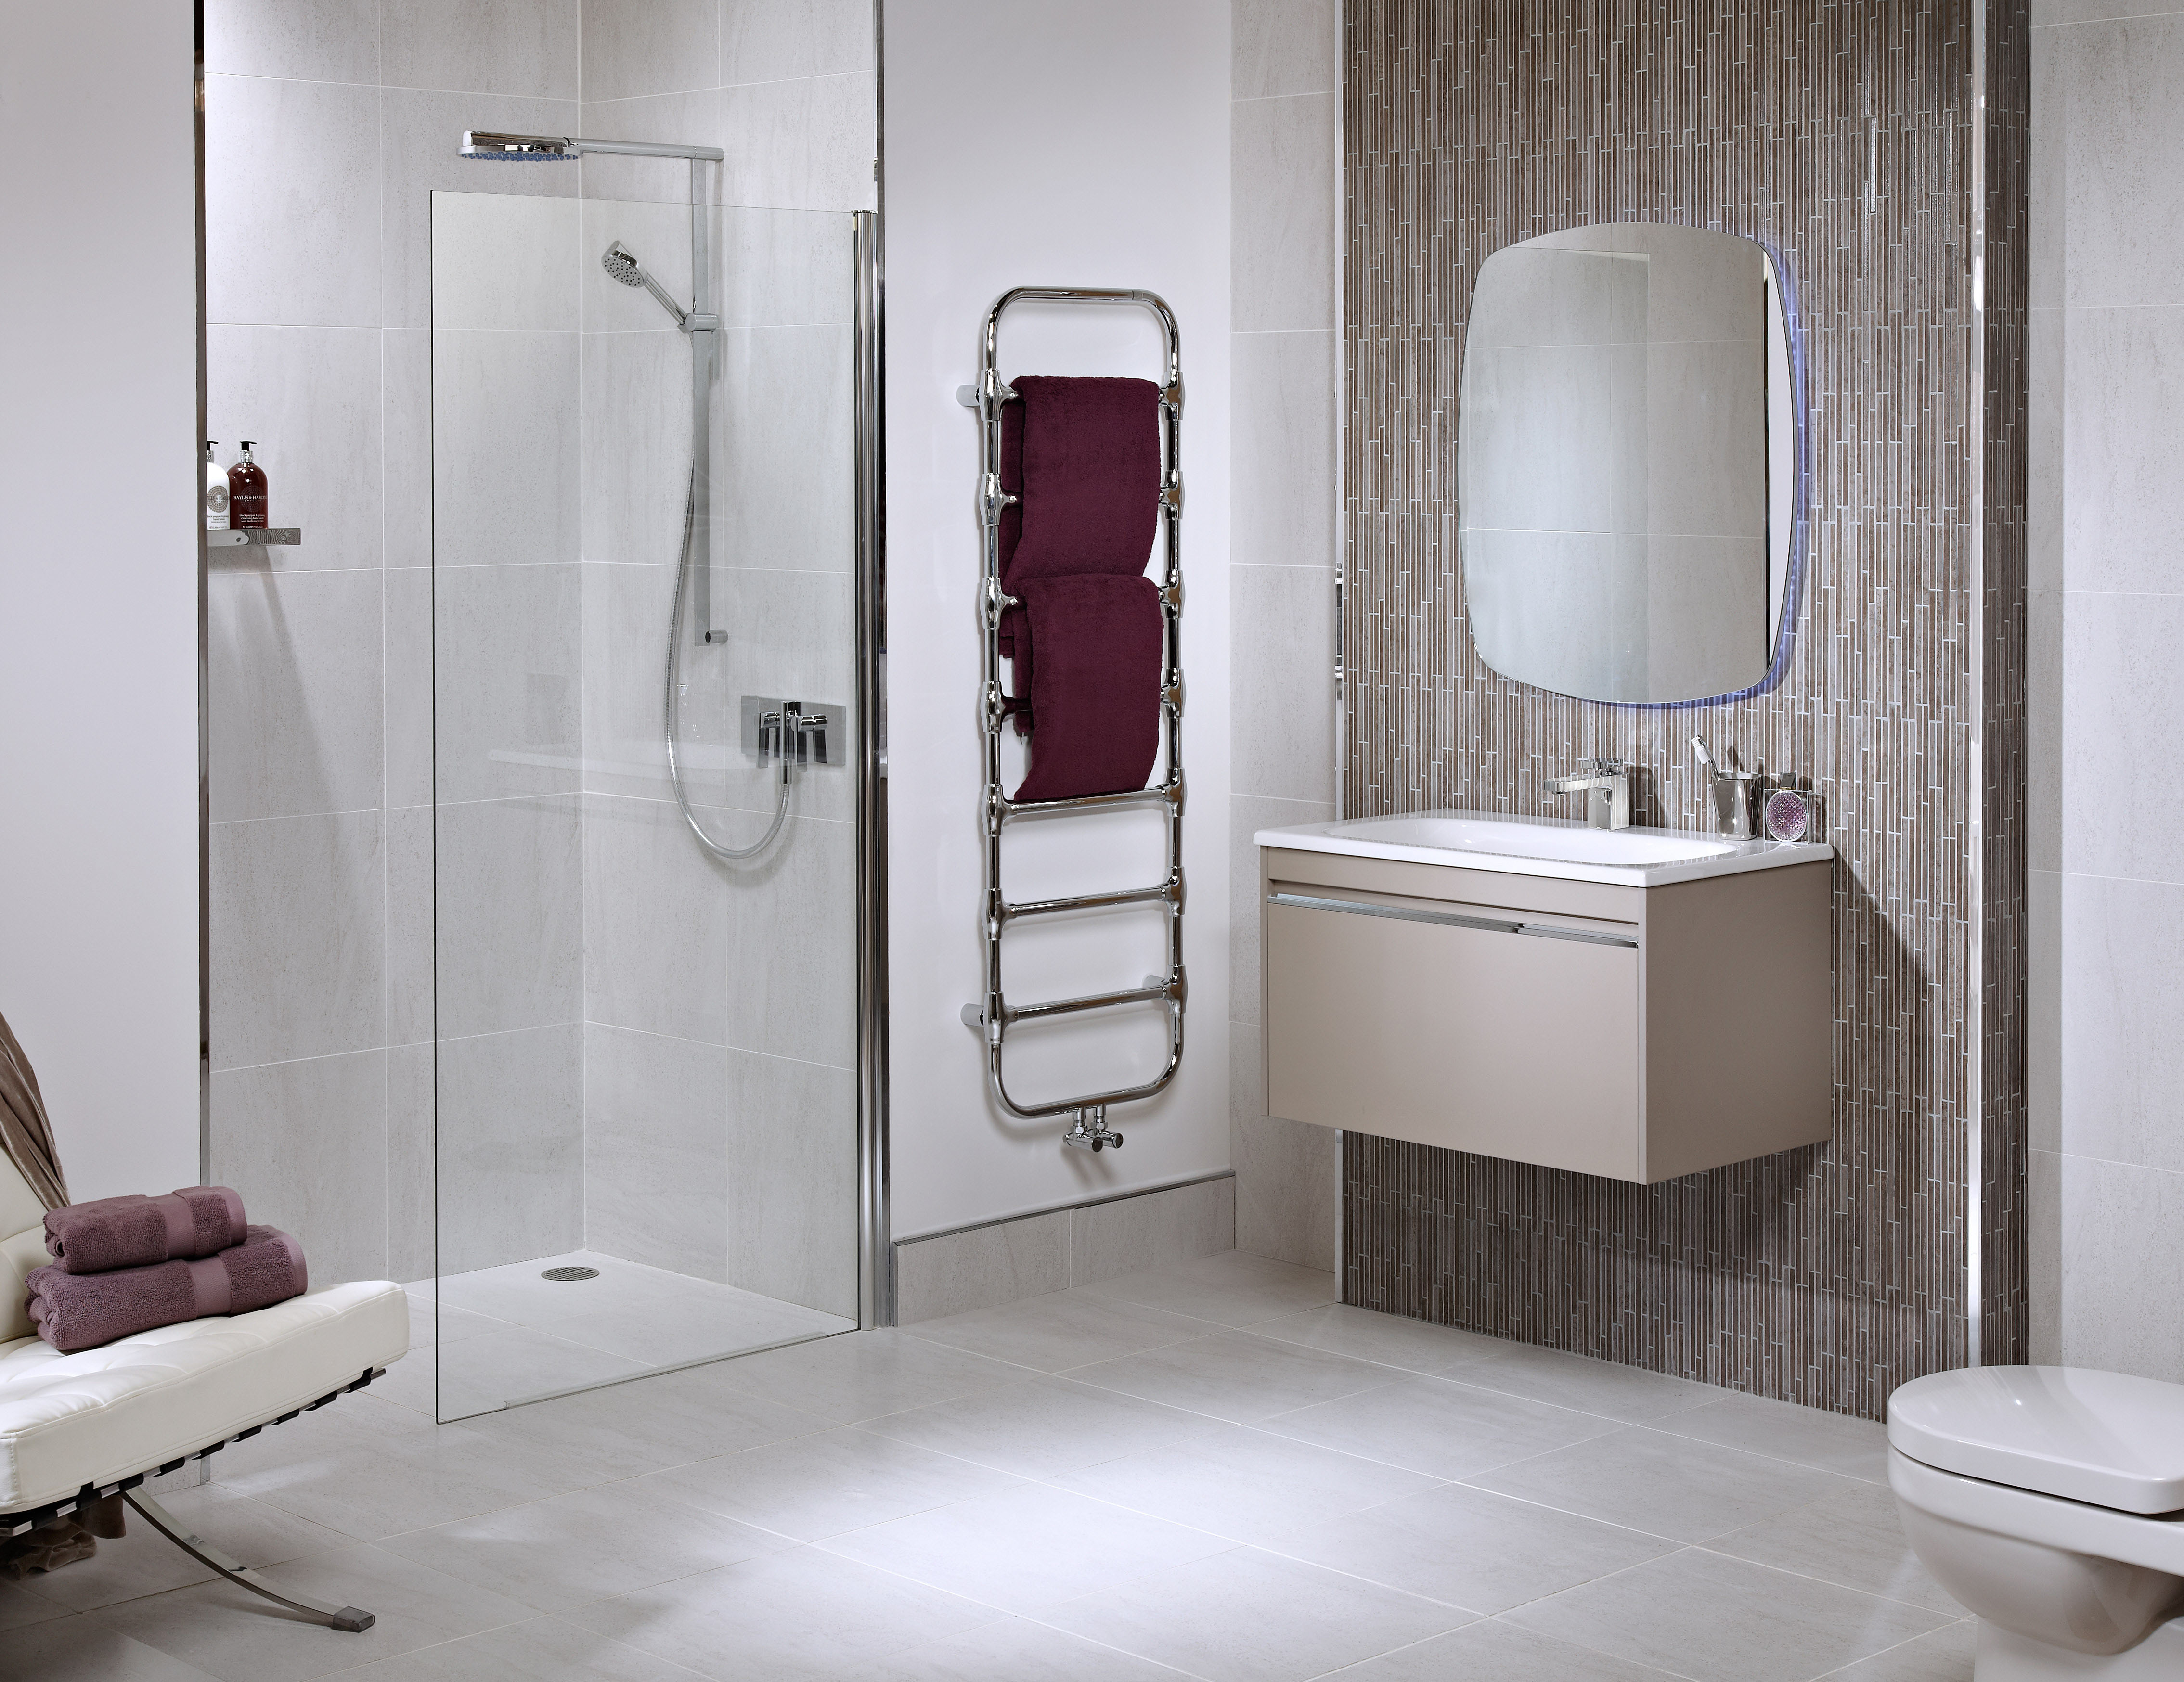
Bathroom ceiling wet after shower – Right, so your bathroom ceiling’s all damp after a shower, yeah? That’s a proper nightmare, innit? Maybe you should think about getting a bathroom with a separate toilet and shower, like this one. That way, you can have a proper shower without worrying about the ceiling getting soaked.
It’s all about keeping things dry, you know? Plus, a separate toilet and shower just looks way more fancy, like a proper grown-up bathroom.
Right, so your bathroom ceiling’s dripping after a shower? Could be a dodgy shower head, or maybe your taps are just ancient and spraying water everywhere. If you’re thinking of upgrading, check out this list of the best bathroom taps 2018 – might help you find a decent set that won’t leave your ceiling looking like a swimming pool.
But if it’s still dripping, you might need a plumber, mate.